How to release a print job
Click here to view a quick video on how to release your print job.
Step 1
When you walk up to the printer you will see the below screen. Choose the login method you would like to use. You can login with your username/ password or your ID number, by using the keyboard to the left of the display screen.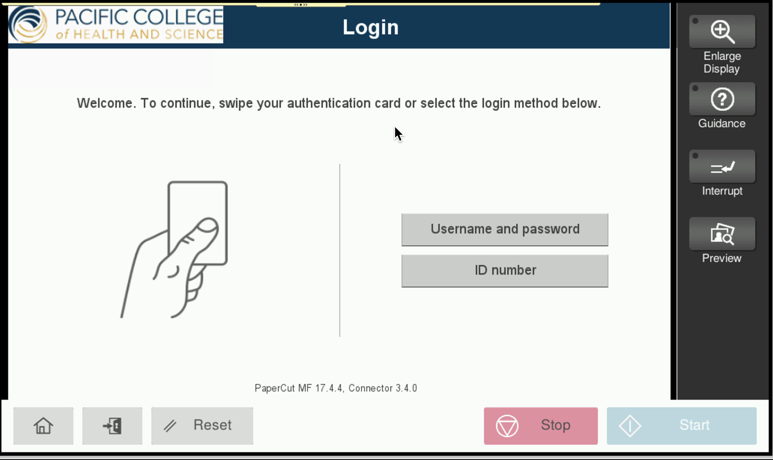
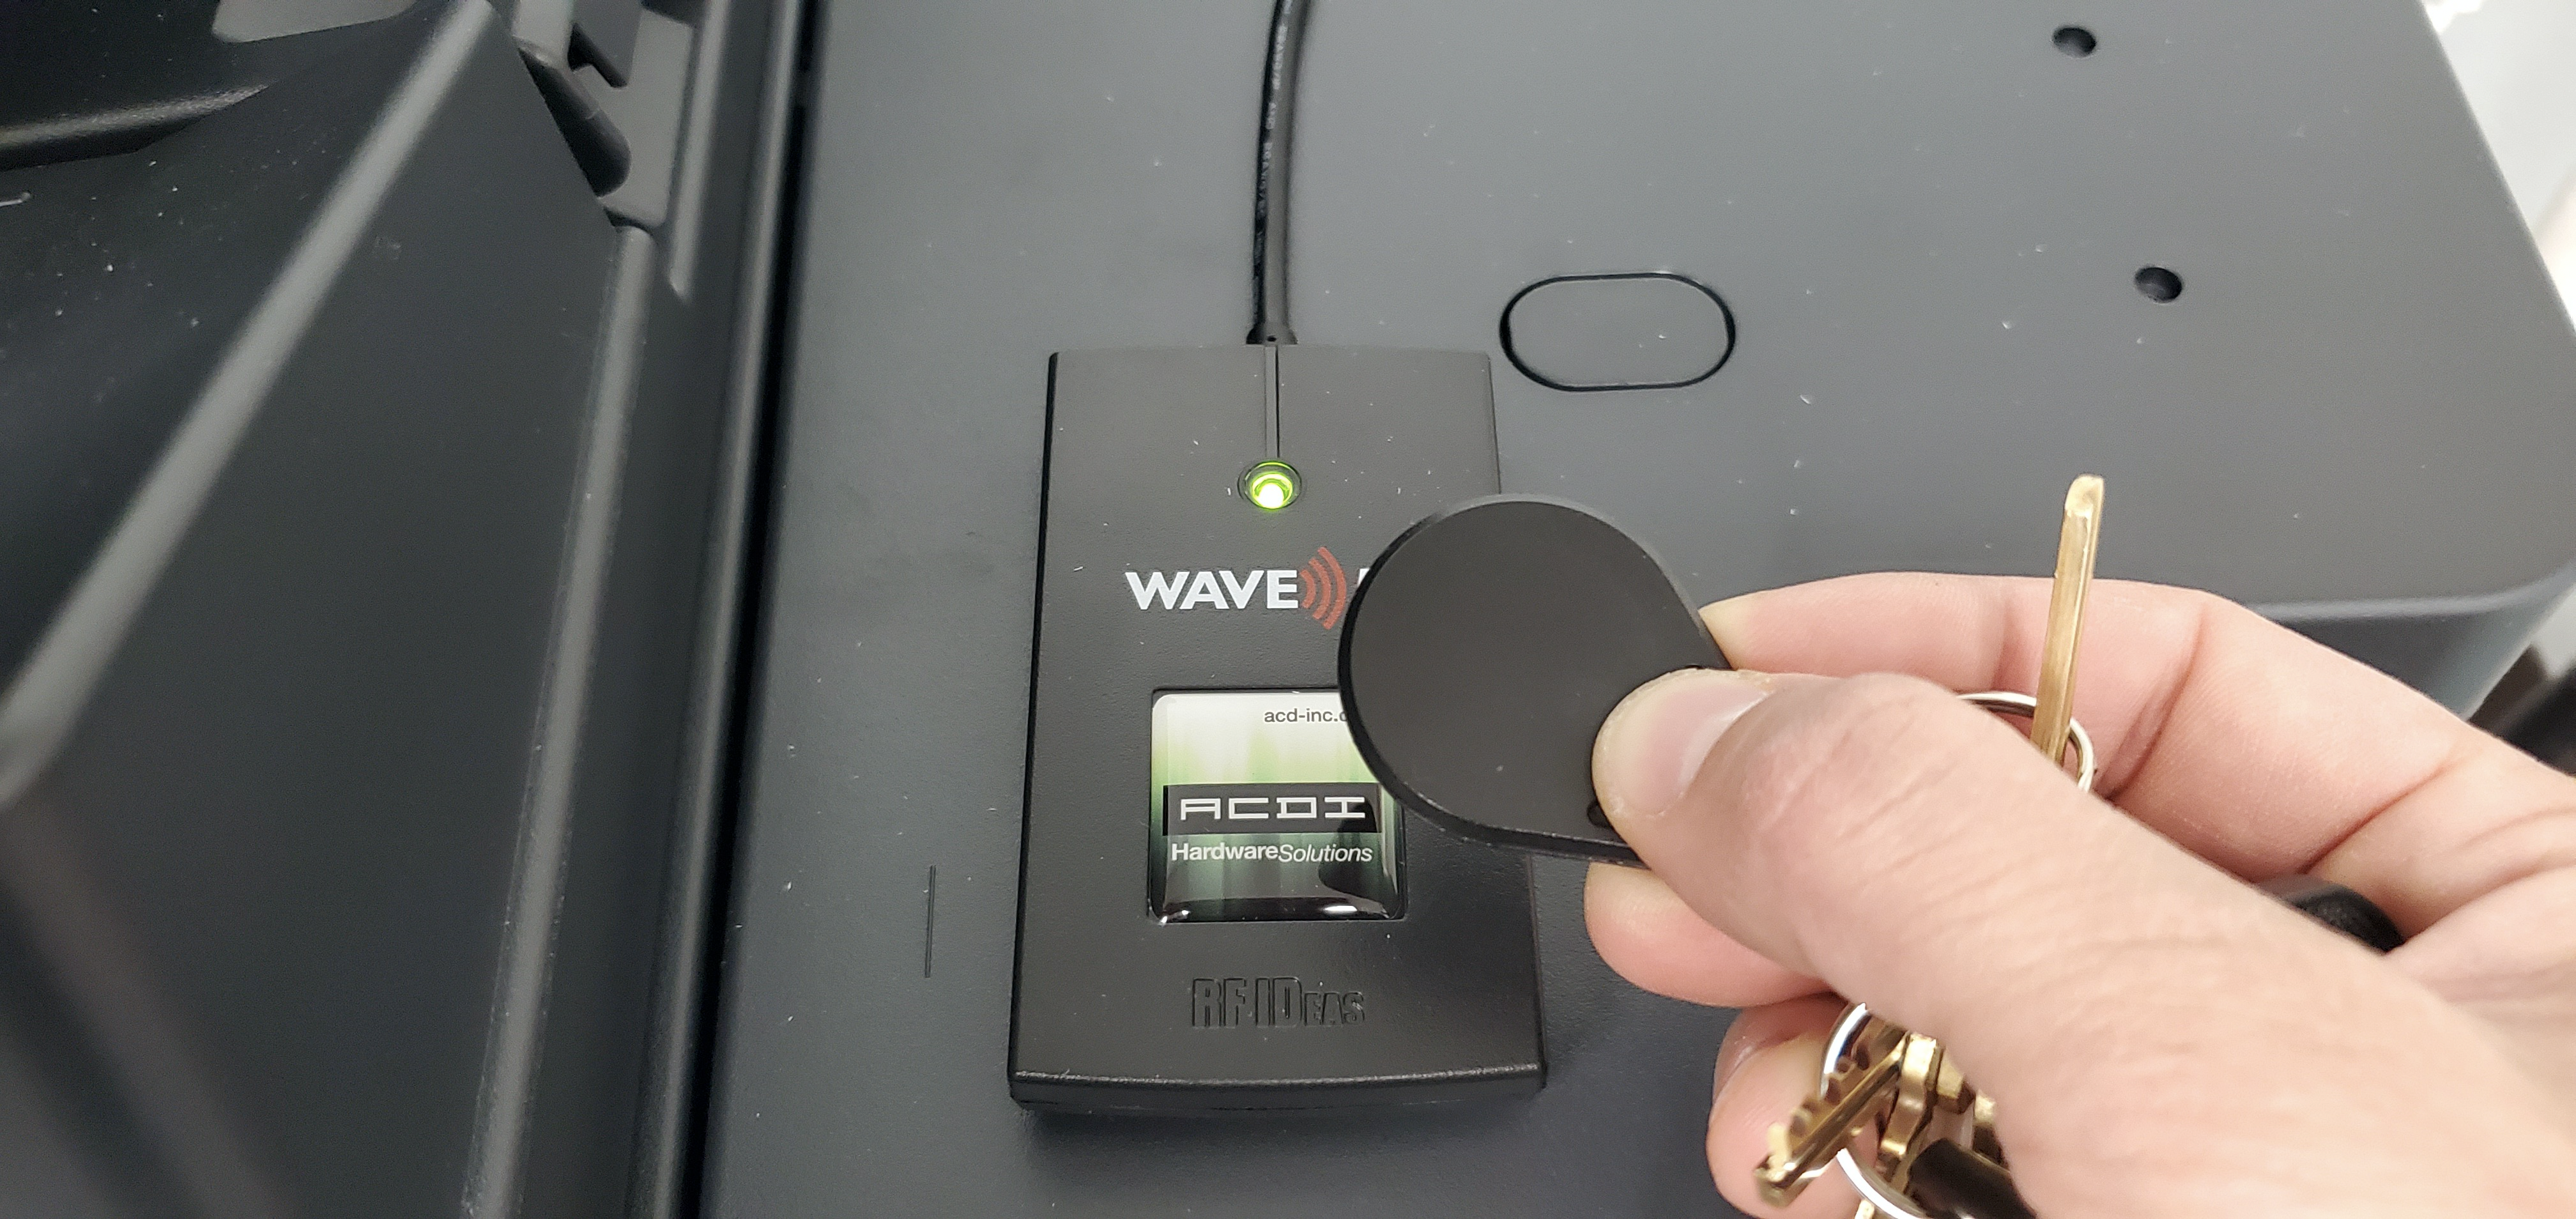
Or you can use your key fob on the card reader to the right of the display screen.
Step 2
Once you have logged in you will be taken to the print release screen.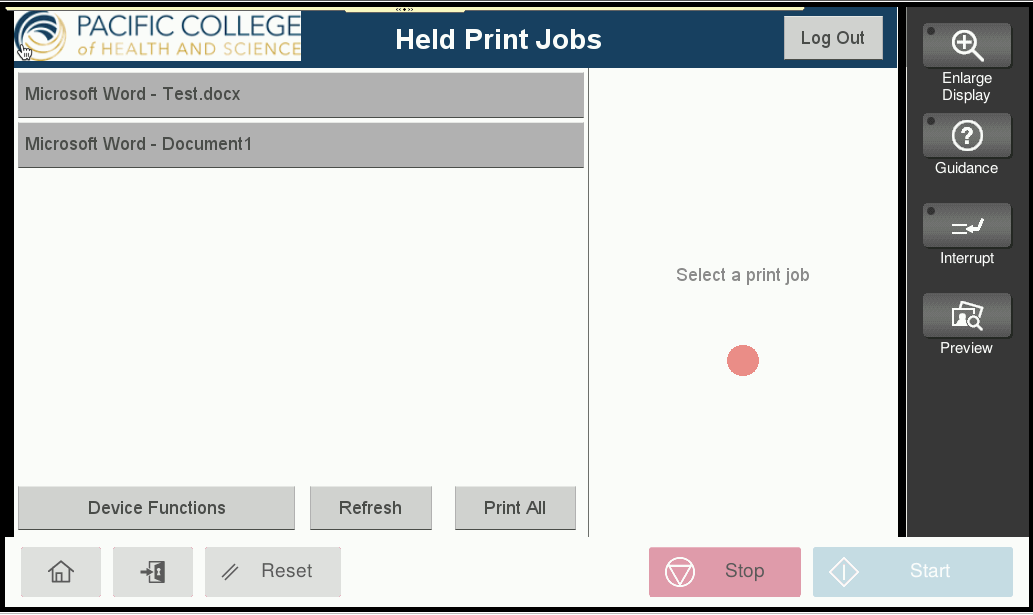
Step 3
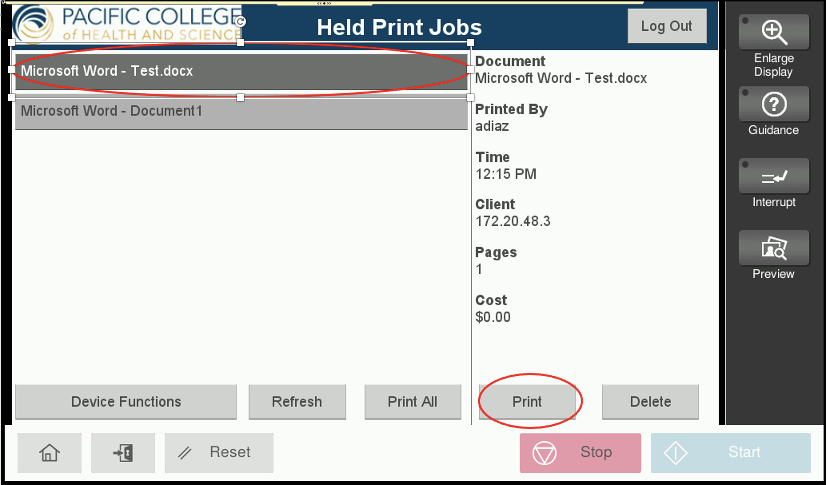
You can either hit the Print All button to print all documents or you can click the print job you want and print that specific job. Once you have chosen, the job will release from the printer.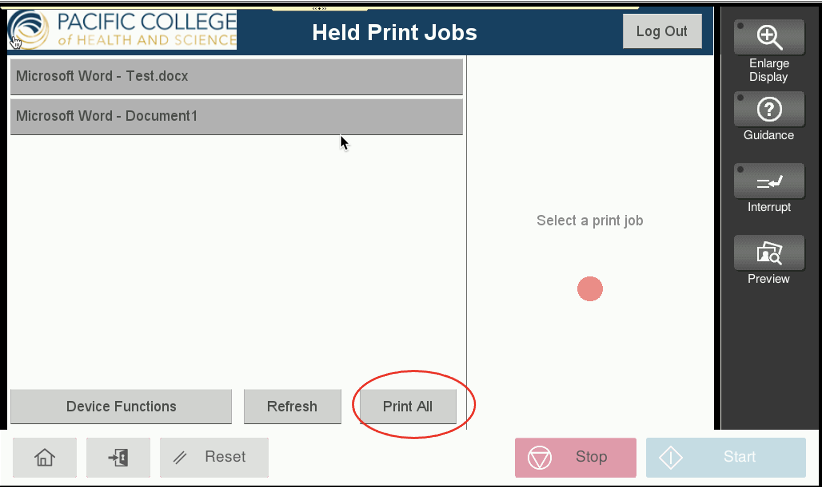
How to make copies
Click here to view a quick video on how to make copies.
Step 1
When you walk up to the printer you will see the below screen. Choose the login method you would like to use. You can login with your username/ password or your ID number, by using the keyboard to the left of the display screen.
Or you can use your key fob on the card reader to the right of the display screen.

Step 2
Once you have logged in, you will be taken to the device functions screen. Click on the Copy button.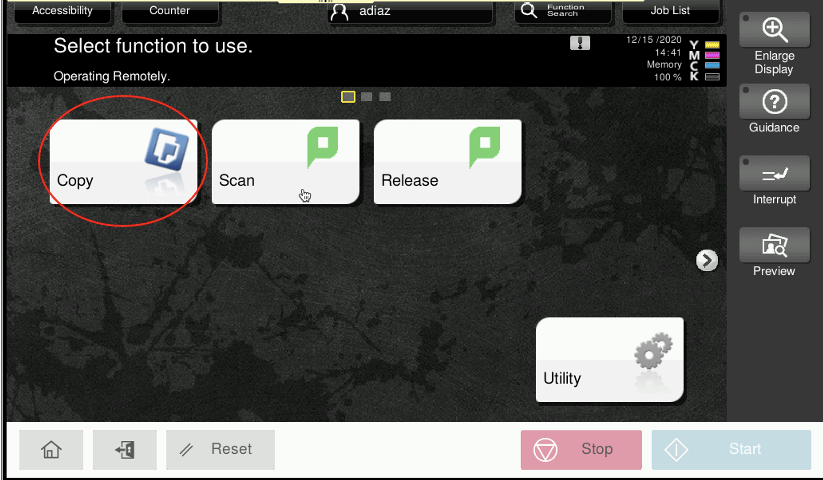
Step 3
Once in the Copy screen, you can choose how you would like the document to be copied.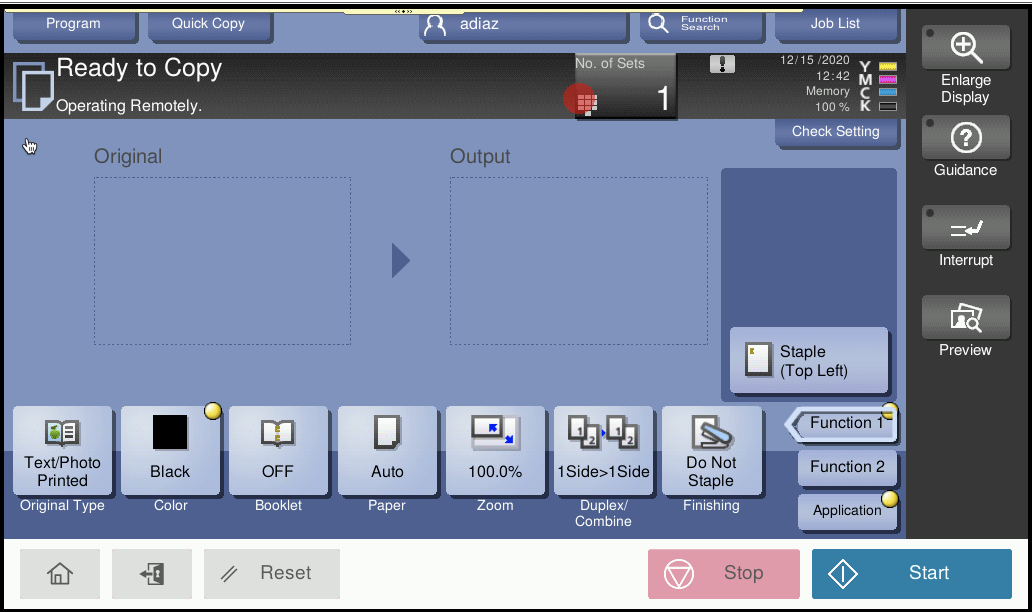
a. You can set how many copies you would like.
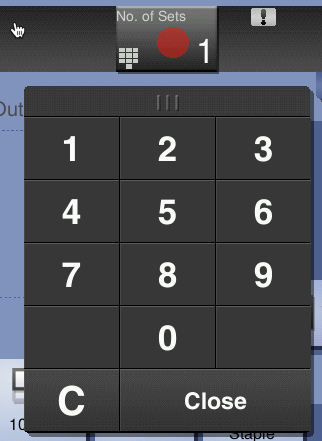
b. You can set if you want the copies to be black&white or in color.
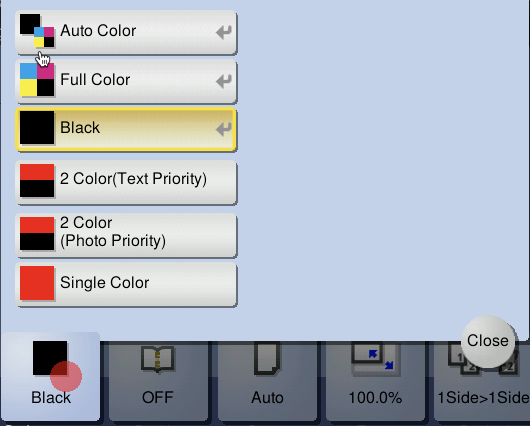
c. You can set if you want it to be 2 sided or not.
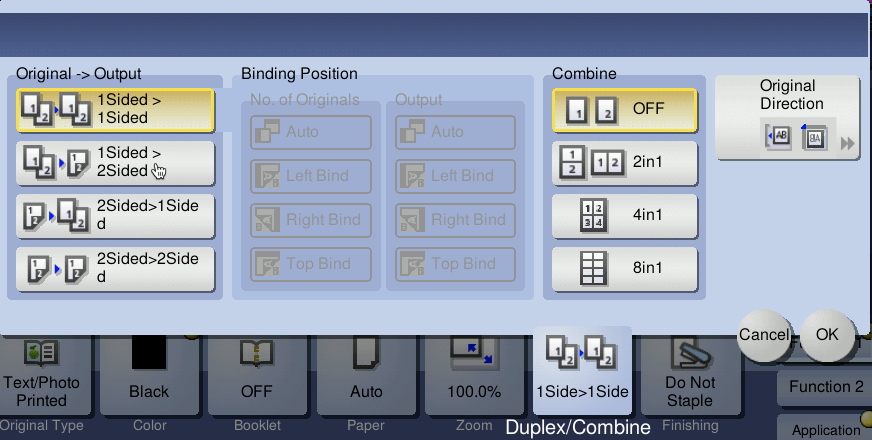
d. You can set if you would like the copies stapled.
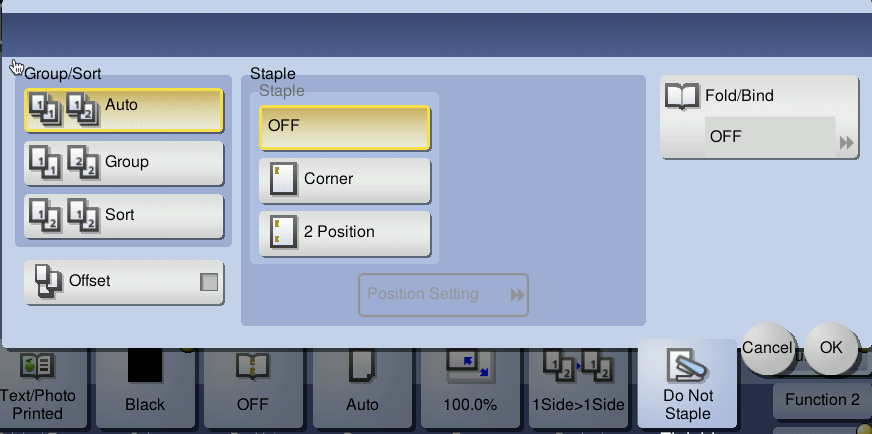
Step 4
Once you have chosen how you want the copies to come out. Click the Start button and the device will begin making your copies.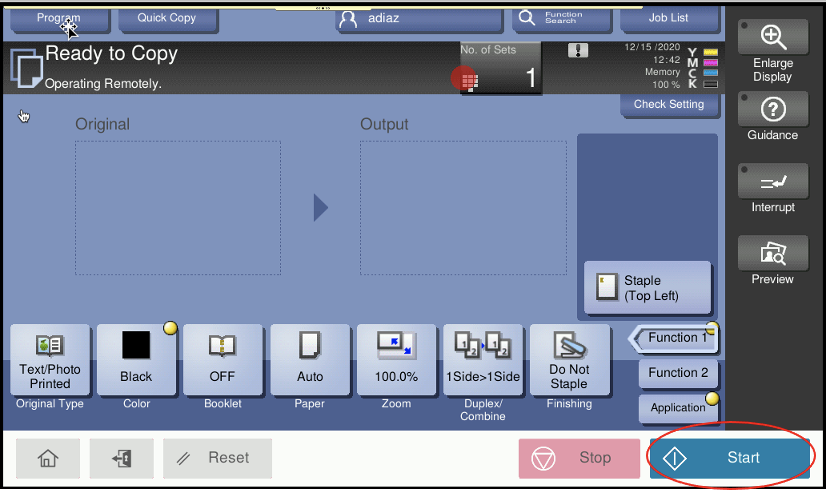
How to scan to email
Click here to view a quick video on how to make copies.
Step 1
When you walk up to the printer you will see the below screen. Choose the login method you would like to use. You can login with your username/ password or your ID number, by using the keyboard to the left of the display screen.
Or you can use your key fob on the card reader to the right of the display screen.

Step 2
Once you have logged in, you will be taken to the device functions screen. Click on the Scan button.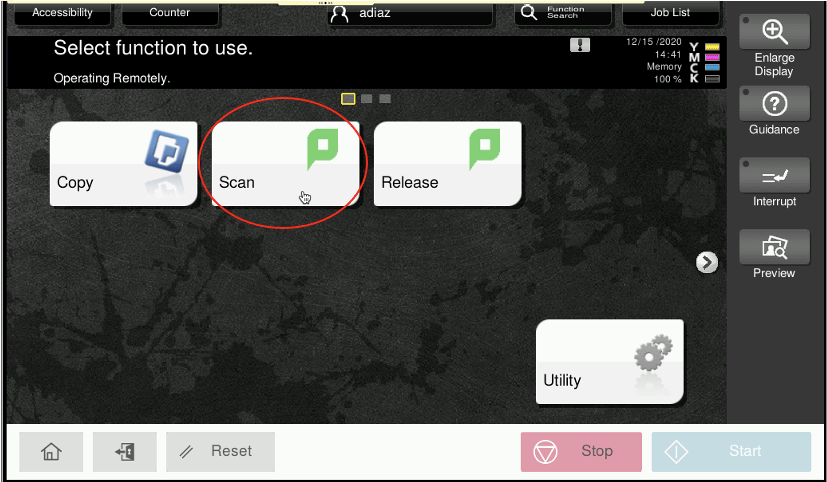
Step 3
With these new printers your email will automatically come up as you are signed in with your account. On the next screen click on Scan to My Email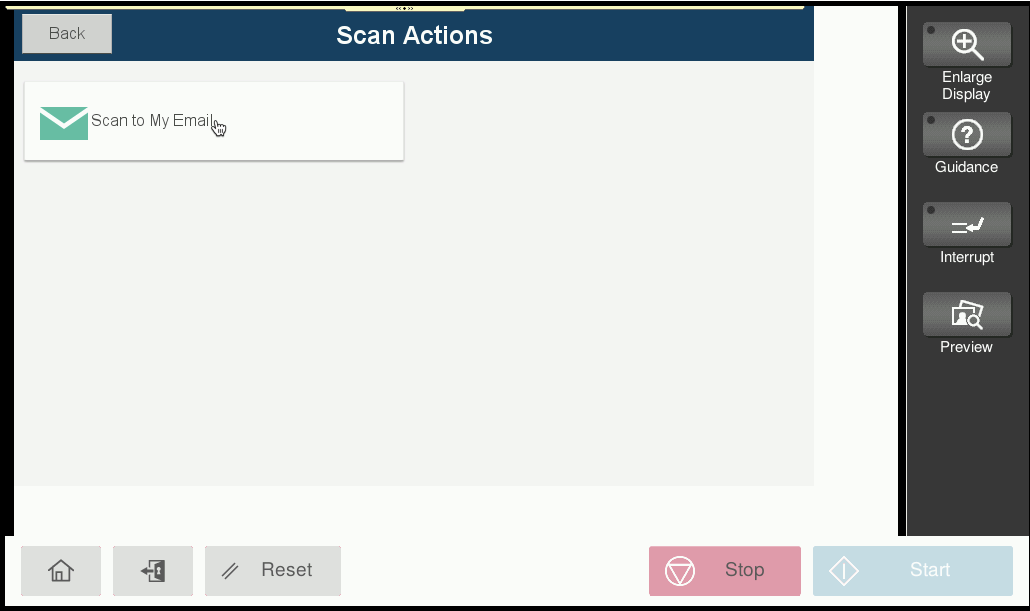
Step 4
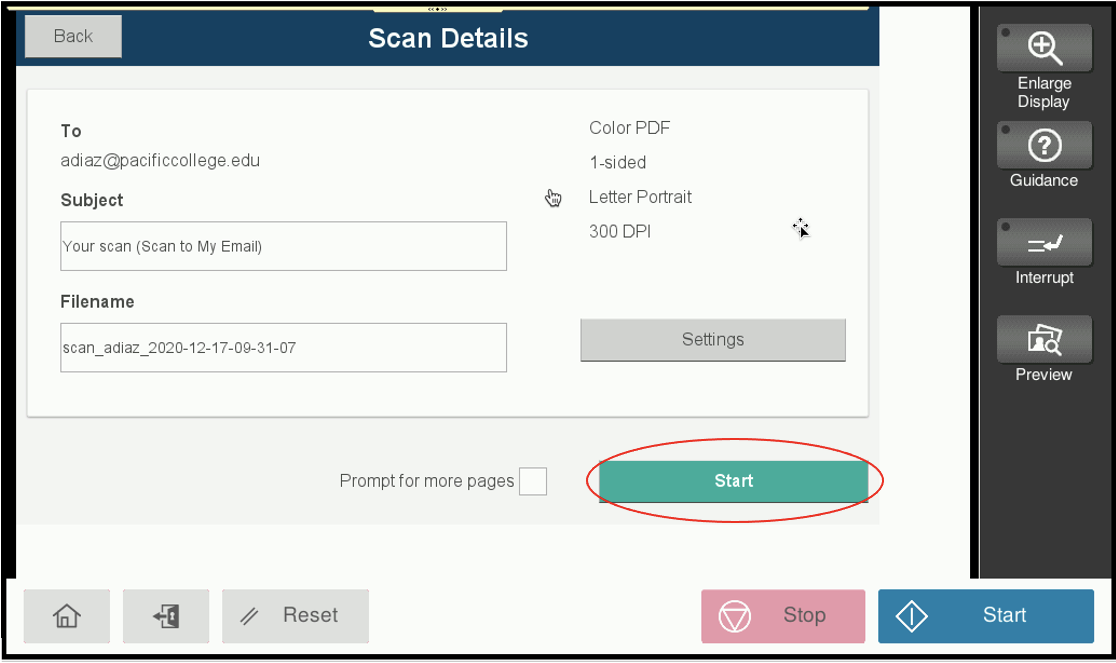
Next, if you have no changes to make to the scan you can click the Start button. Or you can click on the Settings button to make adjustments to the scan.
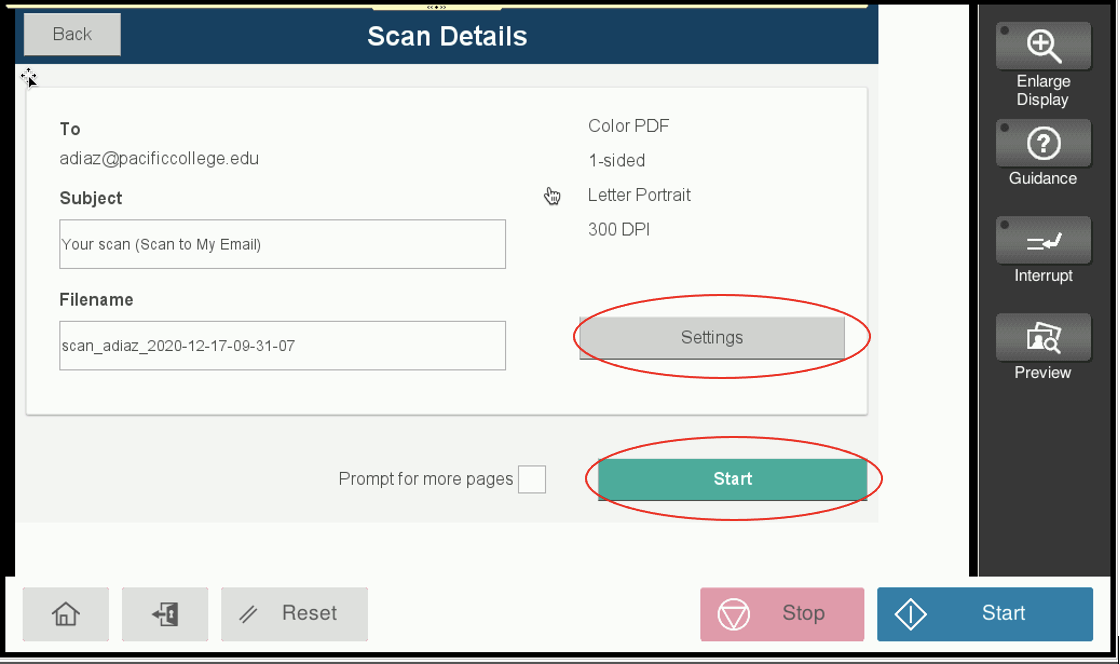
Below are the settings you can change to the scan. Once you are done click on Back

Step 5
Once you are ready to scan the file click the Start button